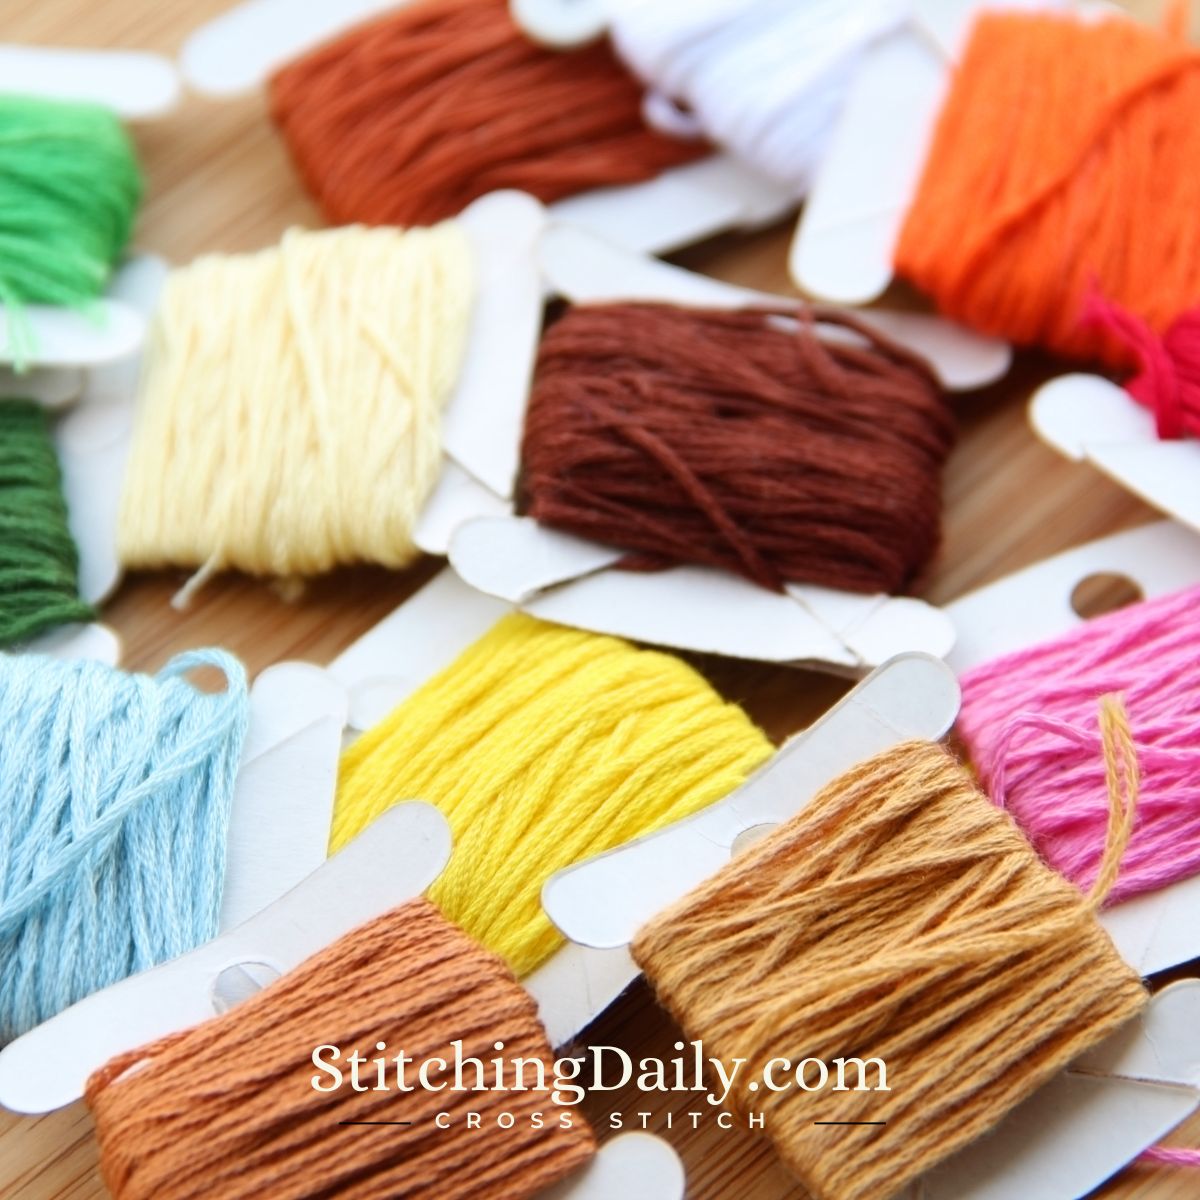
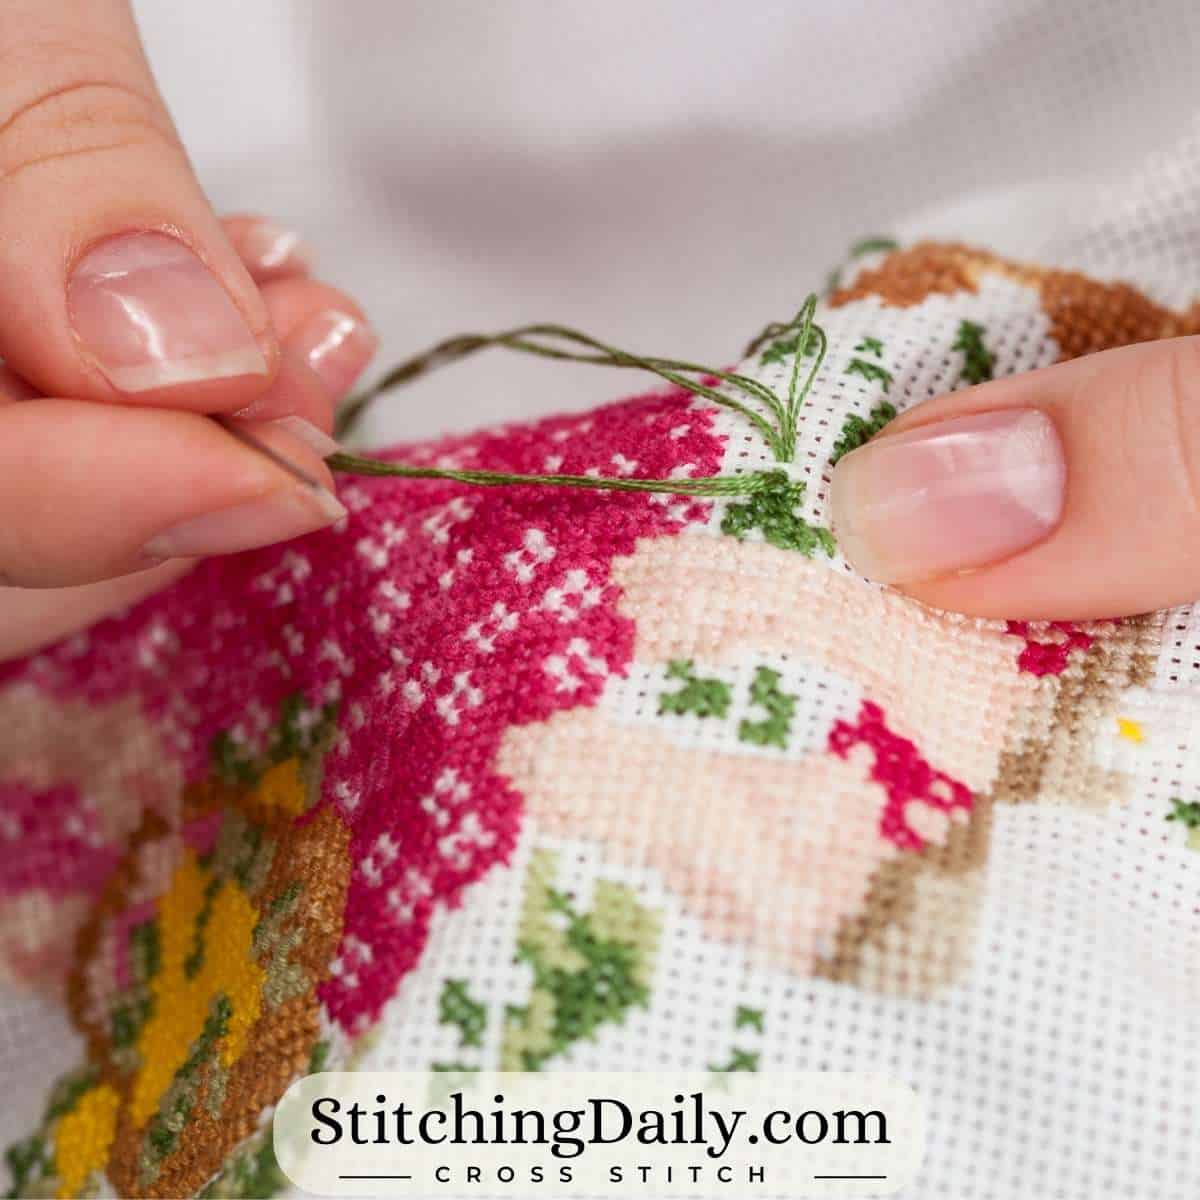
Do you like to work on cross stitch projects? I do! Cross stitch is a fun and easy craft that you can do with just a needle, some fabric, and some colorful threads. But sometimes, it can be hard to keep track of all the different threads you need. That’s why I use floss bobbins.
Floss bobbins are small cards (measuring 1 9/16 inch tall by 1 ½ inch wide (4 cm tall by 3 ⅘ cm wide) that you can wrap your threads around and write the color number on them. They help you keep your threads neat and tidy.
In this article, I will show you how to use floss bobbins and share some cool tips that will make your cross stitch projects even more fun.
Plastic Floss Bobbins - Pros and Cons
When you buy floss bobbins, you have two choices: plastic or cardboard. Both types do have their own pros and cons. So let's talk about those so you can think about what is best for you and your threads.
Plastic bobbins are more durable and last longer. They don’t bend or tear easily, and they can be reused many times. (And honestly, they look nice and shiny in your bobbin box.)😊
However, plastic bobbins are more expensive and some of them can be too big for different boxes. Also, if you're looking to reduce your use of plastic, then this would be a disadvantage for you to use these.
If you decide to change thread organization methods, you want to make sure you properly recycle these since plastic is not biodegradable.
Cardboard Floss Bobbins - Pros and Cons
Cardboard bobbins are cheaper and easier to get. You can even make your own by cutting out shapes from old cereal boxes or greeting cards. They are also more eco-friendly and can be recycled or composted.
However, cardboard bobbins are not very strong and can get damaged by water or wear and tear. They also tend to bend or curl when you wrap your threads around them, which can make them look messy.
Floss Bobbins are one of my favorite cross stitch supplies.
How to Use The Floss Bobbins
Here are two different ways to use a floss bobbin. The first method is the most common method. And the other is the loop method I use.
In these videos I am using DMC floss which is the cotton thread I usually stitch with. (Learn what DMC stands for)
Method One - Wrapping from one end of floss to another
To use the bobbins, you would hold one end of the floss flush against the bobbin and start winding. TIP: Try to keep the floss from getting to thick in one spot by winding it evenly throughout the width of the bobbin instead of wrapping it repeatedly in one section.
When you're near the end, you want to tuck the end of the floss into one of the slits in the bottom of the bobbin
Labeling the Bobbin
You can use a marker like a Sharpie or a marker meant for writing on plastic and label the top of the bobbin with the color number. (Tip: I like Sharpies, but I prefer these pens for my bobbins because Sharpies sometimes get rubbed away.)
You can also stick a sticker, label maker sticker or tape the label from the floss onto the bobbin.
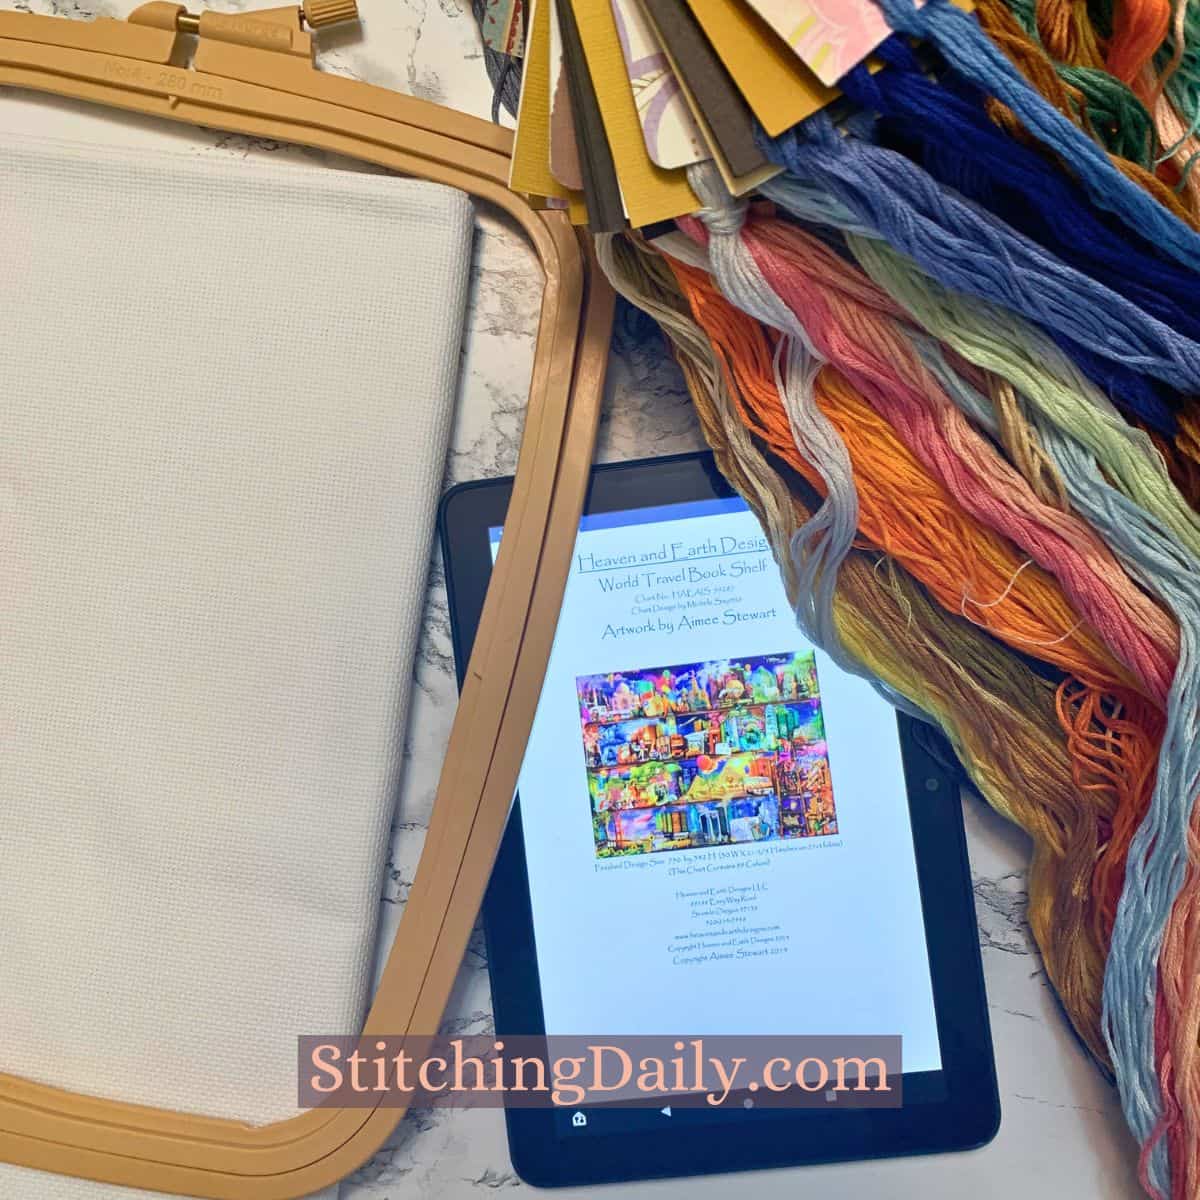
Storing Your Floss Bobbins
Here is one option for storing your bobbins which is just a regular bobbin box. But now I use this bobbin holder and the regular boxes are backup storage for extra floss.
How To Wrap Embroidery Floss - 30 Second Tutorial
Steps to wrap embroidery floss from the above video:
- Find the middle of the skein and put your hand in it and remove the labels.
- Take one of the ends and start winding the embroidery floss around the bobbin with your other hand still holding onto the skein from the middle.
How to Keep Your Threads from Becoming a Hot Mess
If you use floss bobbins, you probably know they're not perfect.
One reason some people switch away is because threads can get these crimps or bends in them. But don’t worry, I have some tips to help you avoid these problems and keep your threads happy and healthy.
First, don’t wind your threads too tight or too loose on the bobbins. If they are too tight, they can stretch and lose their shape. If they are too loose, they can slip off and get knotted. Try to wind them evenly and snugly, but not too much.
Second, don’t let your threads touch anything dirty or sticky. They can get stained or greasy and look gross. Keep them away from food, drinks, pets, kids, or anything else that can mess them up. If you have to take them out of the house, put them in a ziplock bag or a pouch that you can close securely.
And if they do get dirty somehow, try to wash them gently with some mild soap and water and let them dry completely before using them again.
These tips will help you keep your threads in good condition and make your cross stitch projects more fun and beautiful. And if they don’t work, you can always blame the cats. They are probably plotting to sabotage your crafts anyway.
So now I'll let you get to winding all that floss!


Leave a Reply