Let's dive into the kaleidoscope of colors that await us in the world of stitching.
Now, most cross stitch patterns are gonna give you a run for your thread with multiple colors. (There are a few exceptions like those cool monochromatic designs from Long Dog Samplers where you can go all-in with just one color.)
But hey, mastering the art of stitching with multiple colors is like unlocking a secret power. It's a skill you gotta have in your stitchy toolkit, my friends.
Jump to:
Mixing up hues like a boss adds that extra oomph to your stitchy creations.
But let's not deny it: juggling all those colors can give even the most seasoned stitcher a bit of a thrill (or, let's be real, a wave of intimidation). It's like trying to solve a colorful puzzle!
How do you handle those vibrant threads, stitch with finesse, and keep track of where the heck you're at?
Fear not. We're diving into the depths of this colorful journey together.
So here's a crash course in color management - stitchy style.
How to Organize Your Cross Stitch Threads
There are a few different ways that you can use to organize your threads for your project.
- Thread cards (Kits usually have your thread organized this way)
- Plastic organizer/Pako
- Bobbin box
- Thread drops
How to Stitch with Multiple Colors of Thread
There are a couple different methods for stitching with multiple colors.
Cross Country Method for Multiple Colors
First, you can use the cross country method.
With cross country (the stitching not the running) , you pick one color and you stitch all of that one color.
You can even stitch cross country in different ways:
- You can go until your one strand of thread is used up.
- You can stitch all of that color in a small section. Some stitchers work and complete a diagonal, column, row, page.
- You can stitch all of that color in the entire project which is called Extreme Cross Country or color completing.
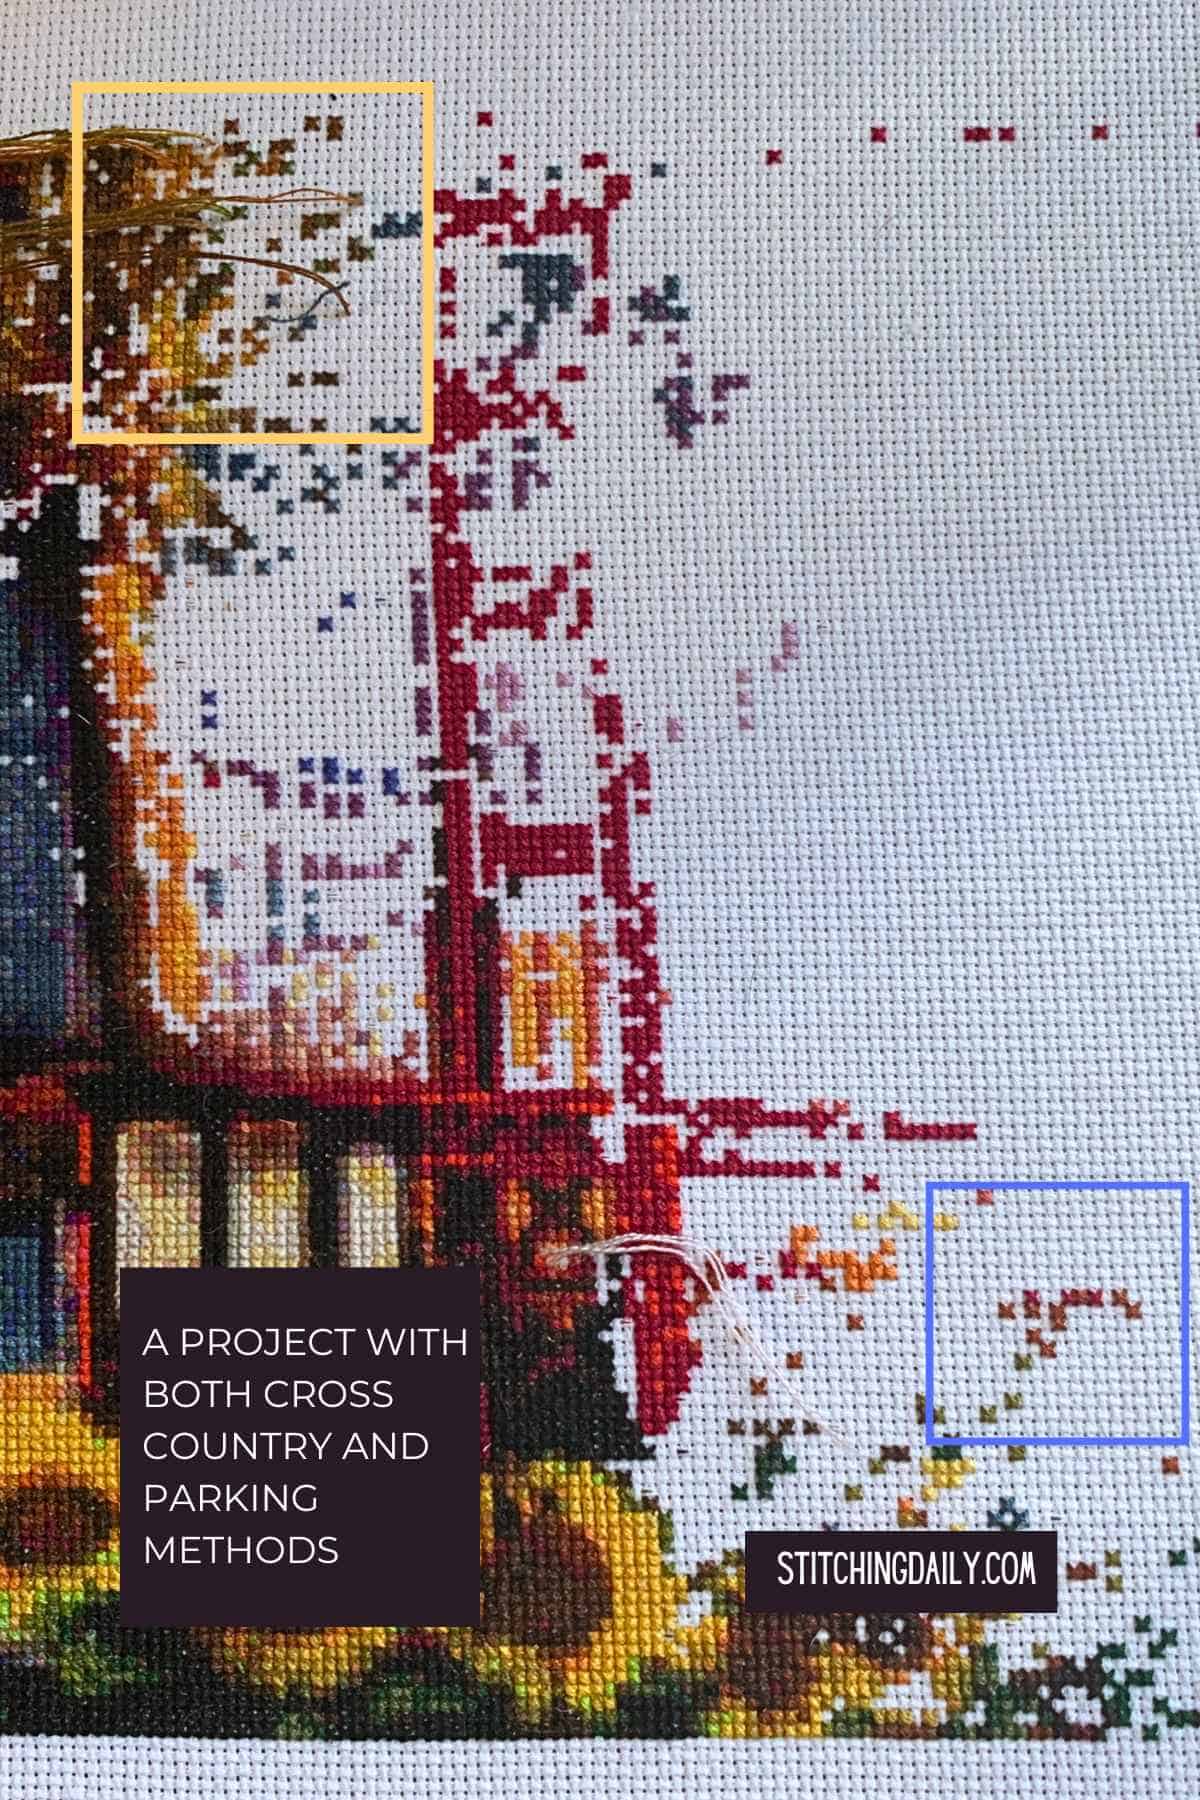
You can see in the image above, the section to the right with random dots of stitches is where I was using the cross country method.
I would pick one color and stitch the entire strand until it was done. Then I would go back and find the next color to stitch and stitch one strand of that.
Confession time -
I don't do cross country or extreme cross country. I did start out this way but it requires more accuracy in counting than I have. I always lose count and stitch in the wrong places and end up with entire sections that need to be ripped out and redone.
Steps in Cross Country Stitching with Multiple Colors
1. Pick the first color that shows up in your pattern.
With the cross country method it's easier to start wherever you want. You can start in the middle, a corner or you can even pick one aspect of the design like a person's face or a specific motif and start there.
2. Find the correct spot on your fabric
If you're starting in the middle this one is easy, fold your fabric in half and then in half and you'll find the middle of your fabric. That's where you'll make your middle stitch.
If you're starting in a corner, just make sure you allow yourself enough of a border to account for framing or finishing the piece.
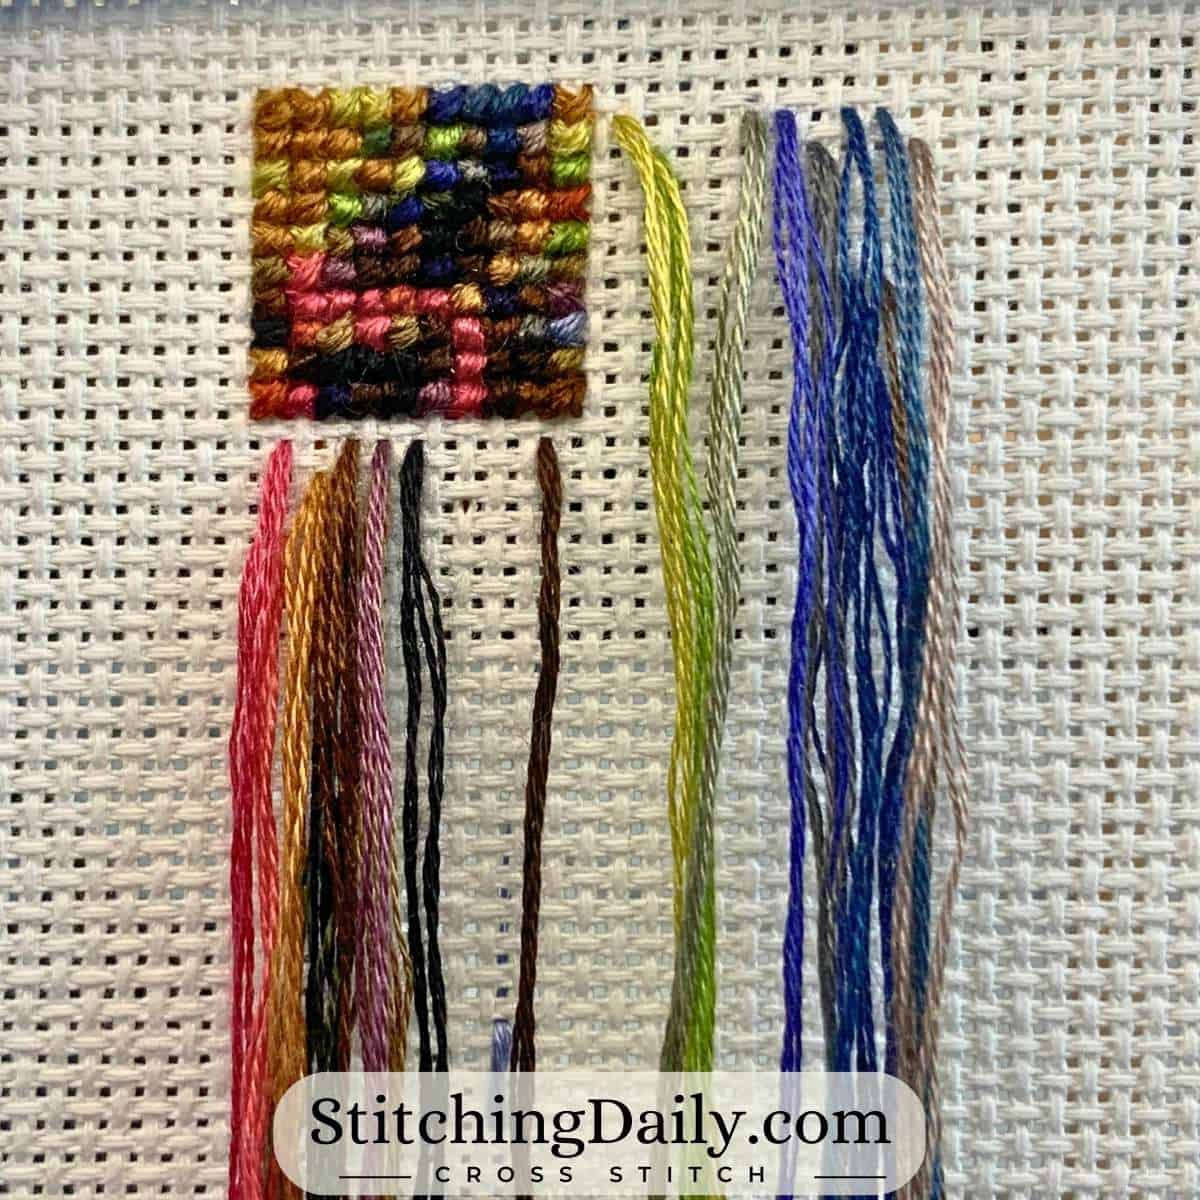
3. Thread your needle with your correct color of floss
I like to work with a thread that is 36 inches and then I fold it in half and it becomes 18 inches of thread on my needle.
I find that anything longer gets tangled too easily and also starts to get raggedy from constantly going in and out of the fabric squares.
Anything shorter than 18 inches means I'm running out of thread too quickly.
4. Start stitching all occurrences of that color
One of the reasons I don't like cross country is I have to decide which path to take with my stitching.
If I start with the middle, the next occurrence of that color could be in all different directions. So I try to minimize waste and plan out a path so I can get as many stitches done without wasting threads running it along the back of my fabric.
But I also don't like constantly ending and restarting threads. I am usually comfortable traveling up to 1.5 inches along the back of my fabric between stitches. Any distance more than that and I will usually end my thread.
5. When that thread runs out, rethread your needle.
You can decide to either thread again with the same color and do more stitches of that color or go back to where you started and find the second color and stitch that one.
Parking Method for Multiple Colors
With the parking method, you work one color and then "park" the thread in the next occurrence of the color without working all the stitch.
Advantages of Parking Method
Some advantages of the parking method are that you can have nicer looking stitches if you can choose to work stitches in a manner that does not close off any other stitches.
Another advantage is parking reduces the number of counting errors because you're not having to count across a large area of unstitched fabric.
Also, you can start to see the design as you are filling in smaller areas so your stitches aren't so spread out.
You can check out this Cross Stitch Parking Tutorial. It has step-by-step instructions and photos.
Here's a photo of my most recent start with some threads parked.
Tips for Cross Stitching With Multiple Colors
1. Get to know your pattern
Become familiar with what colors are in what areas. See if there are ninja stitches or single stitches of colors that you don't want to miss
2. Come up with your path
Figure out how you're going to stitch to reduce wasted threads.
3. Deal with knots or tangles
If you happen to get a knot or tangle in the back of your work, deal with it as soon as you notice. If you don't, that knot or tangle could get in your way as you stitch in that area.
Feeling ready to tackle multiple colors in your cross stitch?
Alrighty, my fabulous cross-stitch buddies! We've rocked the art of stitching with multiple colors like total champs.
We've taken our threads on a wild ride, creating masterpieces that make our eyes go, "Wowza!"
As we wrap up this awesome adventure, remember that life is a bit like cross stitching—full of vibrant colors and unexpected twists.
So, go forth, my creative pals, and let your needles dance across the fabric, turning it into a canvas of awesomeness.
You've got this, my stitchy friends!

p.s. I'm working on some small little cross stitch designs that I'm going to be sharing for free. If you want me to send it to you, subscribe to my newsletter below:
[mailerlite_form form_id=0]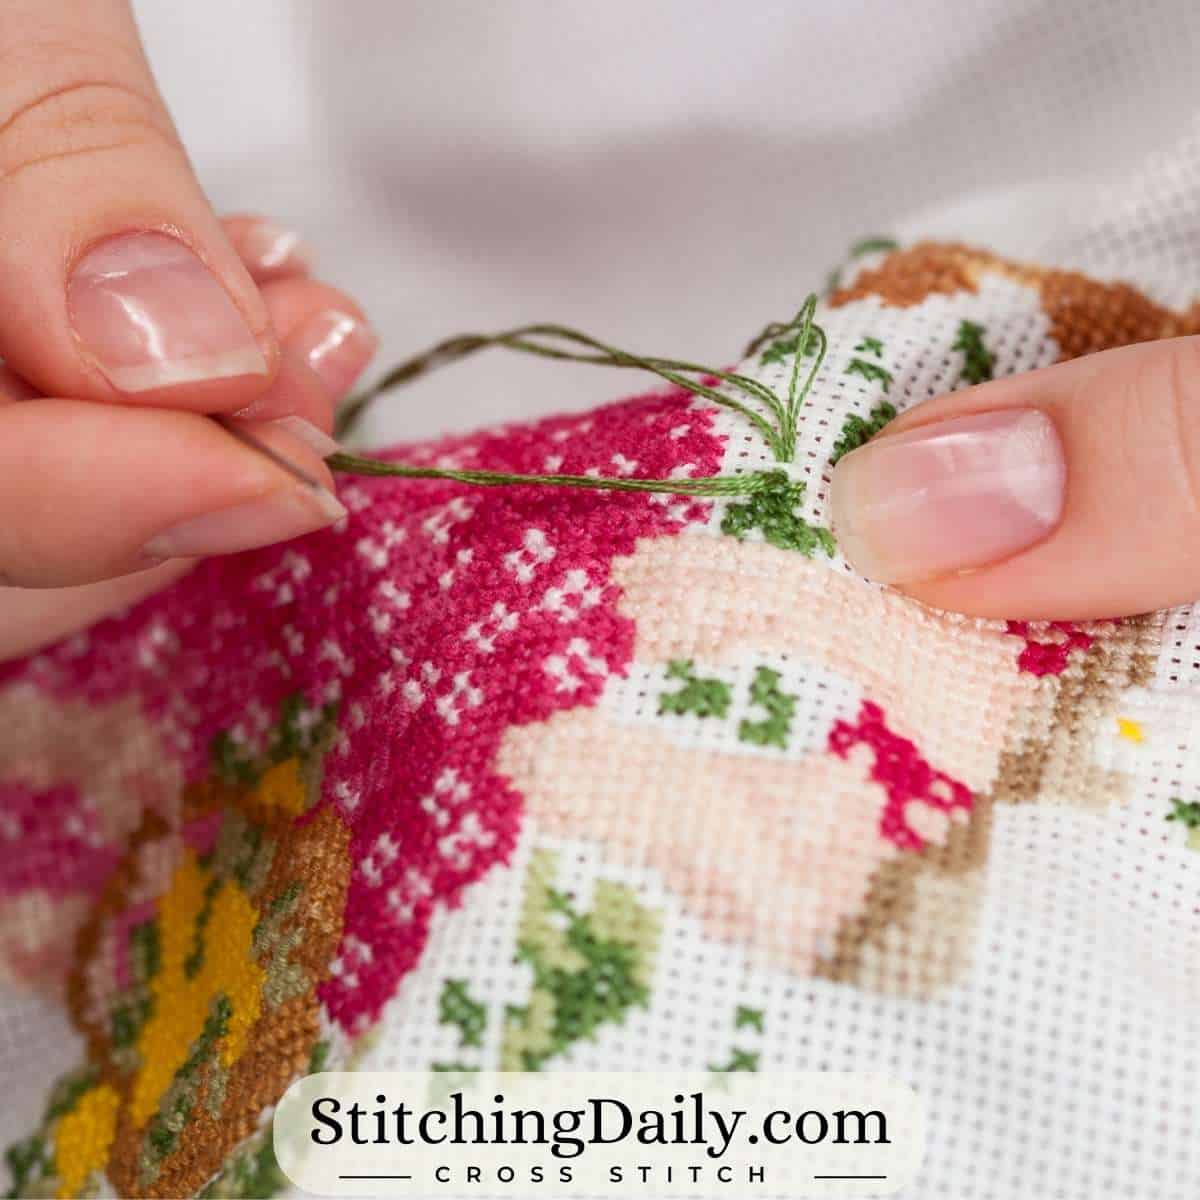


Leave a Reply